- SERVING THE NORTH LOS ANGELES AREA
- +6262100115
- 6262100115
- HighSpeedRooter0313@gmail.com
Can a Ceramic Sink be Repaired?
What Causes Hairline Cracks in Porcelain Sinks?
August 22, 2020
Gas Line Leaks in Cypress
December 24, 2020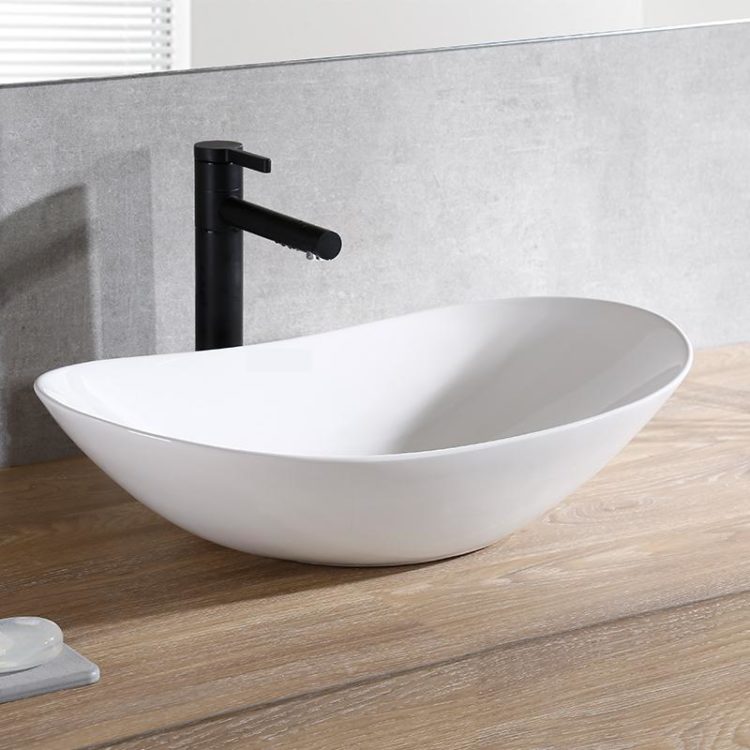
Just one dish dropped into your ceramic kitchen sink is all it takes to cause an unsightly ding. Fortunately, most hardware stores carry sink repair kits that allow you to fix the damage rather than replace the entire sink. The repair process is quite easy, but it is delicate work that requires a bit of patience and stability. It also requires valuable time for the repair to set, so planning ahead of time will insure the project’s success.
Before getting too technical, assess the damage. If you’re dealing with a small scratch or ding, you might get away with purchasing a small sized ceramic touch-up paint. This paint comes in a wide variety of colors so you can match the paint to your sink. Furthermore, some paint manufacturers work with sink manufacturers to match their colors exactly, so by finding your sink’s brand and official color; you can gain the proper paint to cover-up the problem. On the other hand, if the chip/crack in your sink runs deep, you’ll need to repair it before you apply any touch-up paint.
First, look for a two-part epoxy ceramic repair kit. Epoxy will go onto your sink while it’s soft so you can easily work with it, and adjust it. It will then harden, so the repair holds well over time. Prepare the target area. Begin by thoroughly scrubbing the chip or crack and the surface around it. The epoxy will stick better to a clean surface. No special equipment is required. Any general-purpose household cleaner will do the job. Make sure the sink is dry when you have completed the task. Once the damaged area is cleaned, sand it down with 400- or 600-grit sandpaper. Roughing up the surface gives the epoxy some texture to grab onto for a proper hold. It is important to sand carefully, you want to sand only the affected area without scratching the rest.
Now that the damaged area is ready for work, you can mix the epoxy in your repair kit according to the manufacturer’s instructions. When it’s ready, apply it to the chip/crack in your sink carefully. You want the epoxy to go into the chip/crack but not onto the exterior area. Using a toothpick or brush to apply the epoxy, will ensure the fractured area fills.When fixing deep chips/cracks, you might need to apply the epoxy in multiple thin layers rather than all at once. If so, allow each coat of epoxy to dry for 24 hours before applying the next one. Once finished, run a straight edge across the chip/crack to make sure that the epoxy is at level with the top of the chip/crack. Note that epoxy doesn’t expand or contract as it dries, so your finished product will look exactly as it does now. Wait at least 24 hours for the epoxy to fully dry. If you are satisfied with the repair, apply the matching ceramic paint to the repaired area. Remember, this process helps deal with minor sink fractures. Slamming a sledgehammer into the sink will likely require a replacement. In other words for deep cracks or fractures in a ceramic sink you are best off consulting with an expert to establish the severity of the problem, and provide a reliable solution.