- SERVING THE NORTH LOS ANGELES AREA
- +6262100115
- 6262100115
- HighSpeedRooter0313@gmail.com
What to Think About During Garbage Disposal Installation in Anaheim

Kitchen Faucet Sink Repair in Santa Clarita
January 25, 2021
How to Install a Garbage Disposal in Sunset Beach
January 25, 2021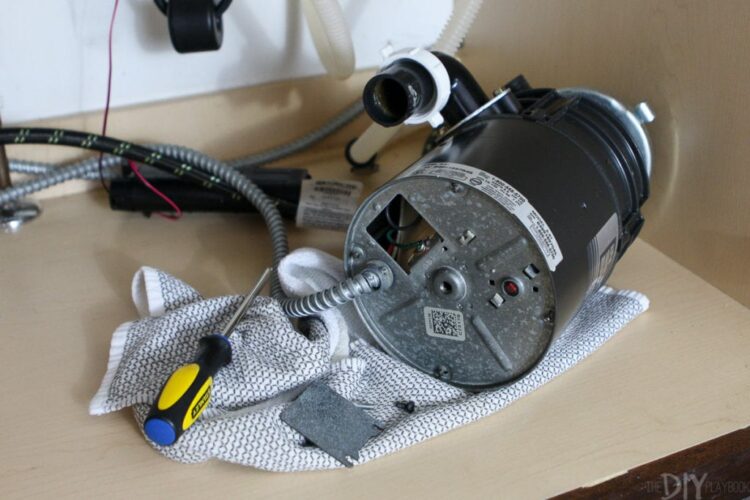
There are a few things to think about during Garbage Disposal Installation in Anaheim. Before you start, you may want to think about:
1. Battery or Back-up Sump Pump- do you need one? Sump Pumps should be considered a needed part of garbage disposal installation. Nevertheless, if you already have a sump pump, you might want to think about installing a 2nd back-up sump pump. If you intend to have a battery-backup sump pump, you will be prepared in case of a power outage.
2. Connection of Water Line- Your primary source of water might be from the house’s utilities. Suppose your utility is the first source of water. In that situation, you will want to install a U-shaped copper or cast iron pipe almost 18″. To satisfy city regulations in many areas, the pipe needs to be a minimum of 18″ maximum in depth when complete. The line will carry the disposer and water to the ground slope. Ensure that you have an adequate slope on your location and do not have any issues with water running over the top of the drain fitting.
3. Appropriate Disposal- Check with your local codes to know what dimension drainpipe line and fill your device will require. If your disposal is a combination of disposal and trash furnace, you will want to install 2 discharge lines. The cold one need to be hooked up to the outside discharge, and the hotline should be installed on the plenum flange.
4. Levels- The cold line will be connected to the rough-in drain. The hotline will be connected to the top of the disposal, and the cold outlet line along with the drainpipe line will be connected to the drainpipe installation. With a buddy, you will then tape the drain lines to the plenum flange using duct tape.
5. Connecting the garbage disposal and the disposal water line to the house’s electrical system.
6. Securing the outside of the garbage disposal. This will require protecting the old fast-food outlet. The garbage disposal is attached to the backside of the unit with 2 screws. The fast-food outlet will get on the right side.
7. Replacing the flange and cover plate. The plenum flange will have 4 screws, and the cover plate will have 2 screws.
8. Securing the outside of the disposal. Have your helper turn the water back on by turning the knob. Next, you will take off the container by unscrewing the nuts. The base will lift free.